Services
Along with components and directives, services are one of the main building blocks of an Angular application.
A component's only concern should be displaying data and not managing it. Services are where the Angular team advocates placing the business logic and data management of the application. Having a clear separation between the presentation layer and the other processes of the application increases reusability and modularity.
Creating a service with the CLI is done as follows:
ng generate service services/example
This will create the service and its associated test class in the app/services folder. It is a common practice to place services in a services folder, the CLI will create the folder if it doesn't already exists.
The following content is automatically generated in the example.service.ts file:
import { Injectable } from '@angular/core'

@Injectable({
  providedIn: 'root'
})
export class ExampleService {

}
When a component requires a service, the service should be injected in its class in the following manner:
import { Component } from '@angular/core'
import { ExampleService } from 'app/services/example.service'

@Component({
  selector: 'app-example',
  templateUrl: './example.component.html'
})
export class ExampleComponent {
  private readonly exampleService = inject(ExampleService)
}
TIP
Always declare a dependency to a service as private. Indeed the template should never directly access a service but always go through a property or a method exposed by the component class.
Dependency Injection
In the previous chapter, we've injected services provided by the @angular/router library in the components needing them. If you are familiar with Spring, you may not have thought much about it as it's one of the framework's mechanisms.
At bootstrap, Angular creates an application-wide injector. If other injectors are needed, Angular will create them along the way. The injector creates dependencies (most often in the form of services), and maintains a container of dependency instances that it reuses if possible. The injector gets the information about how to create or retrieve a dependency from a provider. A service usually acts as its own provider.
You may not have realized, but we have already used providers. In the pipe chapter, to use the UpperCasePipe in the component class instead of in the template, we added it to the providers array of the component.
When Angular discovers that a component depends on a service, it first checks if the injector has any existing instances of that service. If a requested service instance doesn't yet exist, the injector makes one using the registered provider, and adds it to the injector before returning the service to Angular. When all requested services have been resolved and returned, Angular can call the component's constructor.
Dependencies can be provided at three levels:
- root level: this is the default behaviour when creating a service with the CLI. That is what
providedIn: 'root'means. The same instance of the dependency is injected everywhere it is needed as if it were a singleton. - route level: the dependency is added to the providers array of the
Route. The route and its children get their own instance of the dependency - component level: the dependency is added to the providers array of the component. Each instance of that component gets its own instance of the dependency.
Practical Work: State management
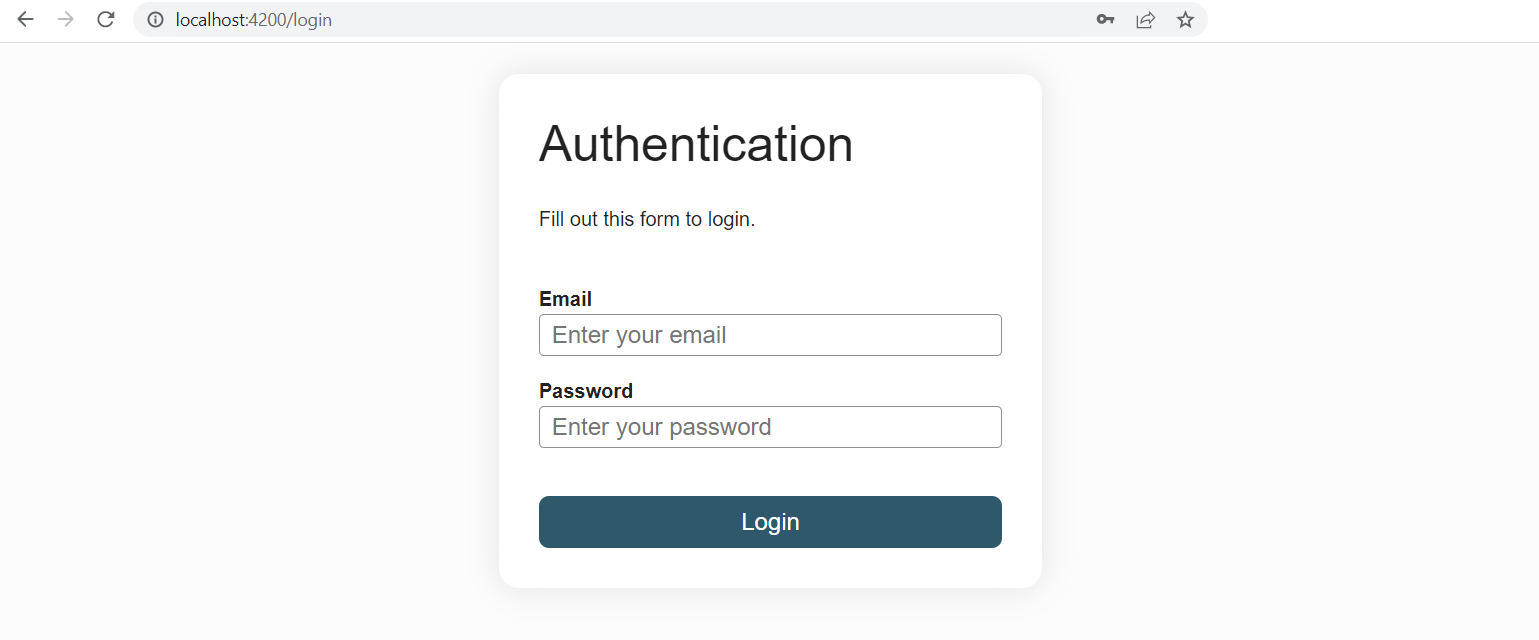
- Generate an
AuthenticationServicewith the CLI in theapp/servicesfolder - Move the
loggedInlogic from theAppcomponent to the service - Inject the service in the
LoginFormComponentand use it. - Implement a logout method in the authentication service and add a logout button in the
Appcomponent that calls it and navigates back to theLoginFormComponent. Here is the html and css:
<button class="logout">Logout</button>
<router-outlet></router-outlet>
.logout {
  align-self: end;
}
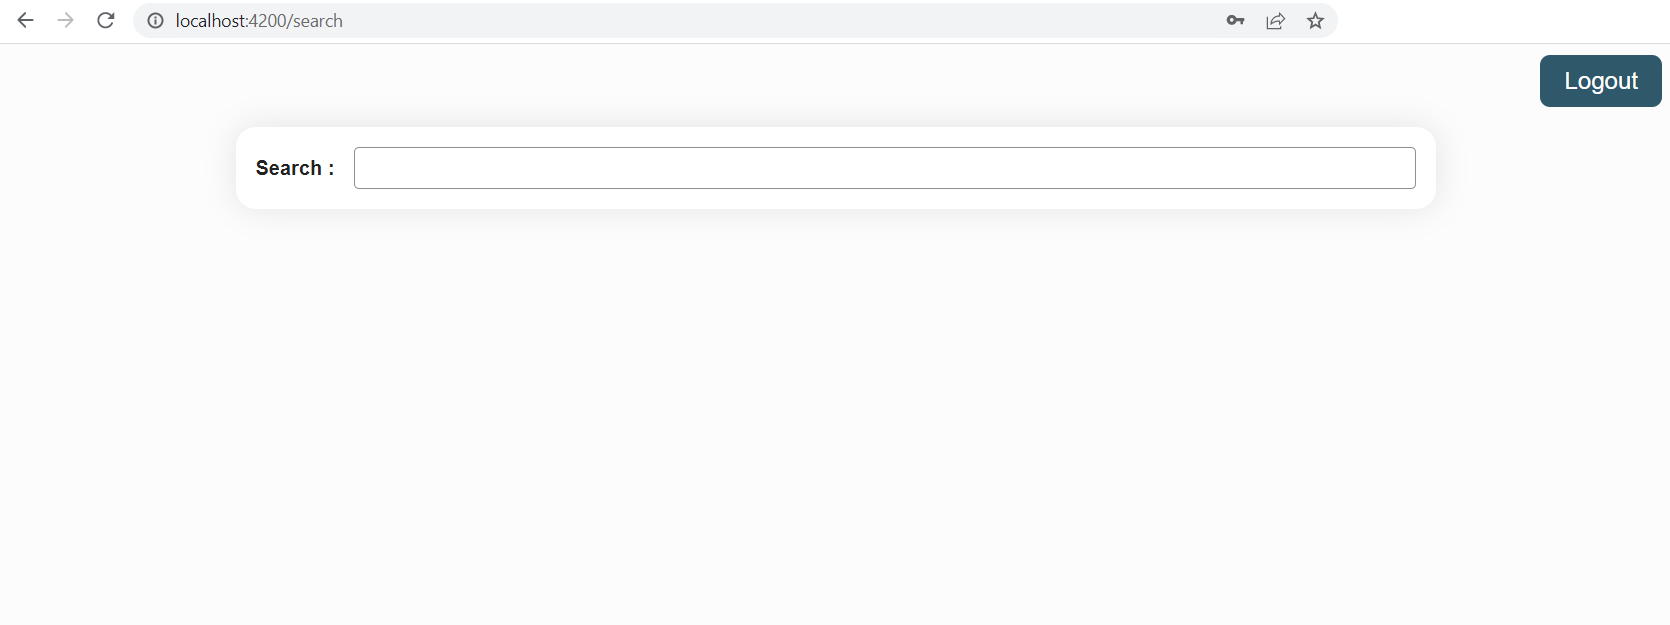
- Conditionally show the Logout button depending on the
loggedInstatus of the user. Expose the signal from theAuthenticationServicein theapp.tsfile to pass data from the service to the template (it is a good practice to always declare a service as private in the component class so you'll need a variable in the component). - Use a navigation guard to redirect the user who wants to access the film search page to
/loginif they are not authenticated (make the CanActivateFn return true if the route can be accessed else return aUrlTreevia thecreateUrlTreemethod of theRouterservice). To future-proof the guard, add a returnUrl as a queryParam to the returnedUrlTreeso that theLoginFormComponentknows where to navigate back to after authentication and modify theLoginFormComponentaccordingly. To generate the navigation guard use the following CLI command:
ng generate guard guards/authentication
# ? Which interfaces would you like to implement? CanActivate
Help for injecting services into the guard function
export const authenticationGuard: CanActivateFn = (route, state) => {
  const authenticationService = inject(AuthenticationService)
  // ...
}
Help for the UrlTree
inject(Router).createUrlTree(['/login'], { queryParams: { returnUrl: state.url }})
Expected result
The HttpClient
In a Single Page Application (SPA), communication with the server is done via asynchronous HTTP requests (AJAX) or more specialized protocols such as WebSocket. We will see how to make these network requests from an Angular application.
Angular provides a module, the HttpClientModule, to make HTTP calls. The module provides an injectable service, the HttpClient, to make GET, POST, PATCH, DELETE and PUT requests. To inject the HttpClient in a service, first add the HttpClientModule to the providers array of the app in the app.config.ts file by passing it the provideHttpClient() function.
Here are a few examples:
import { Injectable, inject } from '@angular/core'
import { HttpClient } from '@angular/common/http'
import { Observable } from 'rxjs'
import { User } from 'app/models/user/user'
import { UserCreation } from 'app/models/user/user-creation'
import { UserEdition } from 'app/models/user/user-edition'

@Injectable({
  providedIn: 'root'
})
export class UserService {
  private readonly httpClient = inject(HttpClient)

  private readonly baseUrl = 'api/backoffice/users'

  create(user: UserCreation): Observable<User> {
    return this.httpClient.post<User>(this.baseUrl, user)
  }

  update(ref: string, user: UserEdition): Observable<User> {
    return this.httpClient.put<User>(`${this.baseUrl}/${ref}`, user)
  }

  getByUserReference(ref: string): Observable<User> {
    return this.httpClient.get<User>(`${this.baseUrl}/${ref}`)
  }
}
import { Component, inject, signal } from '@angular/core'
import { User } from 'app/models/user/user'
import { UserService } from 'app/services/user.service'

@Component({
  selector: 'app-user',
  templateUrl: './user.component.html'
})
export class UserComponent {
  private readonly userService = inject(UserService)

  protected readonly user = signal<User | undefined>(undefined)
  protected reference = ''

  getUser(): void {
    this.userService.getByUserReference(this.reference))
      .subscribe(user => this.user.set(user))
  }
}
The methods from the HttpClient service return Observables. They will be covered in the next chapter about the RxJS library. An Observable is only executed once subscribed to via the subscribe method. The subscribe method is expecting at least one callback. It is most often provided as an arrow function.
Practical Work: Calling a backend
We will use an API (the backend) to authenticate users and search for films. This backend has already been developed and can be deployed locally using the following command line commands (clone in your usual repo folder):
git clone https://github.com/worldline/vuejs-training-backend.git
cd vuejs-training-backend
npm install
npm start
The npm start command will ask you for an API key. Either wait on the instructor to give it to you, alternatively, you can generate one here
TIP
The backend interface contract is available here: api-docs
- Add to the
srcfolder theproxy.conf.jsonfile.
{
  "/api/**": {
    "target": "http://localhost:3030",
    "changeOrigin": true,
    "pathRewrite": {
      "^/api": ""
    }
  }
}
The proxy will divert all calls for http://localhost:4200/api to the server running at http://localhost:3030. It also makes sure we don't encounter any CORS issues (in the case the backend is not hosted on your machine). This configuration is only for the webpack or vite dev server the CLI provides to run the application on your machine in a dev environment. It will not be the configuration used in production.
- In the CLI configuration file -
angular.json- add theproxyConfigoption to the serve target:
...
"serve": {
  "builder": "@angular/build:dev-server",
  "options": {
    "proxyConfig": "src/proxy.conf.json"
  },
  "configurations": {
    ...
  }
},
...
Restart the project as you have change the CLI config (angular.json).
Add
provideHttpClient()to theprovidersarray of theappConfigobject in theapp.config.tsfile.Create the interfaces/classes for the models used by the backend, add one file per model in the
models/authenticationfolder:
export class RegistrationRequest {
  constructor(
    public email: string,
    public password: string,
    public firstname: string,
    public lastname: string
  ) {}
}
export class LoginRequest {
  constructor(
    public email: string,
    public password: string
  ) {}
}
import { User } from './user'

export class UserResponse {
  constructor(
    public user: User,
    public token: string
  ) {}
}
/* eslint-disable @typescript-eslint/naming-convention */
export class User {
  constructor(
    public id: number,
    public firstname: string,
    public lastname: string,
    public email: string,
    public created_at: string,
    public update_at: string
  ) {}
}
Note the token in the UserResponse, it will serve to authenticate the user via the Authorization header: Authorization: Bearer <token>. Learn more about JWT here.
- Implement the
registerandloginmethods in theAuthenticationServiceas follows:
private readonly httpClient = inject(HttpClient)
private readonly baseUrl = 'api/user'
readonly token = signal<string | null>(null)

login(loginRequest: LoginRequest): Observable<UserResponse> {
  return this.httpClient.post<UserResponse>(`${this.baseUrl}/login`, loginRequest)
    .pipe(tap(response => this.token.set(response.token)))
}

register(loginRequest: LoginRequest): Observable<UserResponse> {
  const registrationRequest = new RegistrationRequest(
    loginRequest.email,
    loginRequest.password,
    'John',
    'Smith'
  )

  return this.httpClient.post<UserResponse>(`${this.baseUrl}/register`, registrationRequest)
}
- The change in the call signature of the
loginmethod will require a bit of refactoring in theLoginFormComponent:
private readonly router = inject(Router)
private readonly activatedRoute = inject(ActivatedRoute)
private readonly authenticationService = inject(AuthenticationService)

private readonly loginRequest = computed(() => new LoginRequest(this.email(), this.password()))

login(): void {
  this.authenticationService.login(this.loginRequest())
    .subscribe({ next: () => {
      const postLoginRoute = this.activatedRoute.snapshot.queryParamMap.get('returnUrl')
      this.router.navigateByUrl(postLoginRoute ? `/${postLoginRoute}` : '')
    } })
}

register(): void {
  this.authenticationService.register(this.loginRequest())
    .subscribe()
}
- Refactoring is also needed to keep the
authenticationGuardworking. Make theloggedInvariable in theAuthenticationServicea computed signal that depends on thetokensignal. You will also need to refactor the logout to empty thetokensignal value.
readonly loggedIn = computed(() => this.token() !== null)
- Add a register button next to the login button in the
LoginFormComponent, give it the attributetype="button"so that Angular knows it is not this button that triggers thengSubmitevent on the form and make it call the register method. You should now be able to register a user and login. If you are having trouble, check the errors in the network tab of the developer tools (preview tab of the network call in error), your email or password may not comply with the policy.
<div class="button-container">
  <button type="button">Register</button>
  <button type="submit">Login</button>
</div>
.button-container {
  display: flex;
  justify-content: space-between;
}
- It is time to handle errors. The subscribe method can be passed an object that takes three callbacks: a next, an error and a complete (we will look at this in more details in the next chapter). Declare an
errorMessagesignal in theLoginFormComponentclass and set it with the error information retrieved from the argument of theerrorcallback. Display the error message on the form. Check that the error message is actually shown when you login with incorrect credentials.
protected readonly errorMessage = signal('')

private errorHandler(errorResponse: HttpErrorResponse): void {
  this.errorMessage.set(errorResponse.error.error ?? `${errorResponse.error.status} - ${errorResponse.error.statusText}`)
}

// subscribe syntax
this.authenticationService.login(this.loginRequest())
  .subscribe({
    next: response => { /* insert code here */},
    error: errorResponse => { /* insert code here */ }
  })
hint
For a better UX (User eXperience), do not forget to clear the errorMessage field before launching a new login or registration request or as soon as a register or login succeeds.
- Let's now call the backend to get the list of films. The route is secured which means that passing the token in the header is necessary. Angular provides a mechanism - http interceptors - to systematically intercept http requests, allowing to define the headers in one place.
a. Use the CLI to generate one: ng generate interceptor interceptors/authentication.
b. Here is its implementation:
import { HttpInterceptorFn } from '@angular/common/http'
import { AuthenticationService } from 'app/services/authentication.service'
import { inject } from '@angular/core'

export const authenticationInterceptor: HttpInterceptorFn = (req, next) => {
  const token = inject(AuthenticationService).token()
  if (token) {
    const cloned = req.clone({
      headers: req.headers.set('Authorization', `Bearer ${token}`)
    })

    return next(cloned)
  }

  return next(req)
}
If there is a token in the AuthenticationService, the interceptor will add it to the http request's headers.
c. Add the interceptor to the HttpClient provider in the appConfig object:
provideHttpClient(withInterceptors([authenticationInterceptor]))
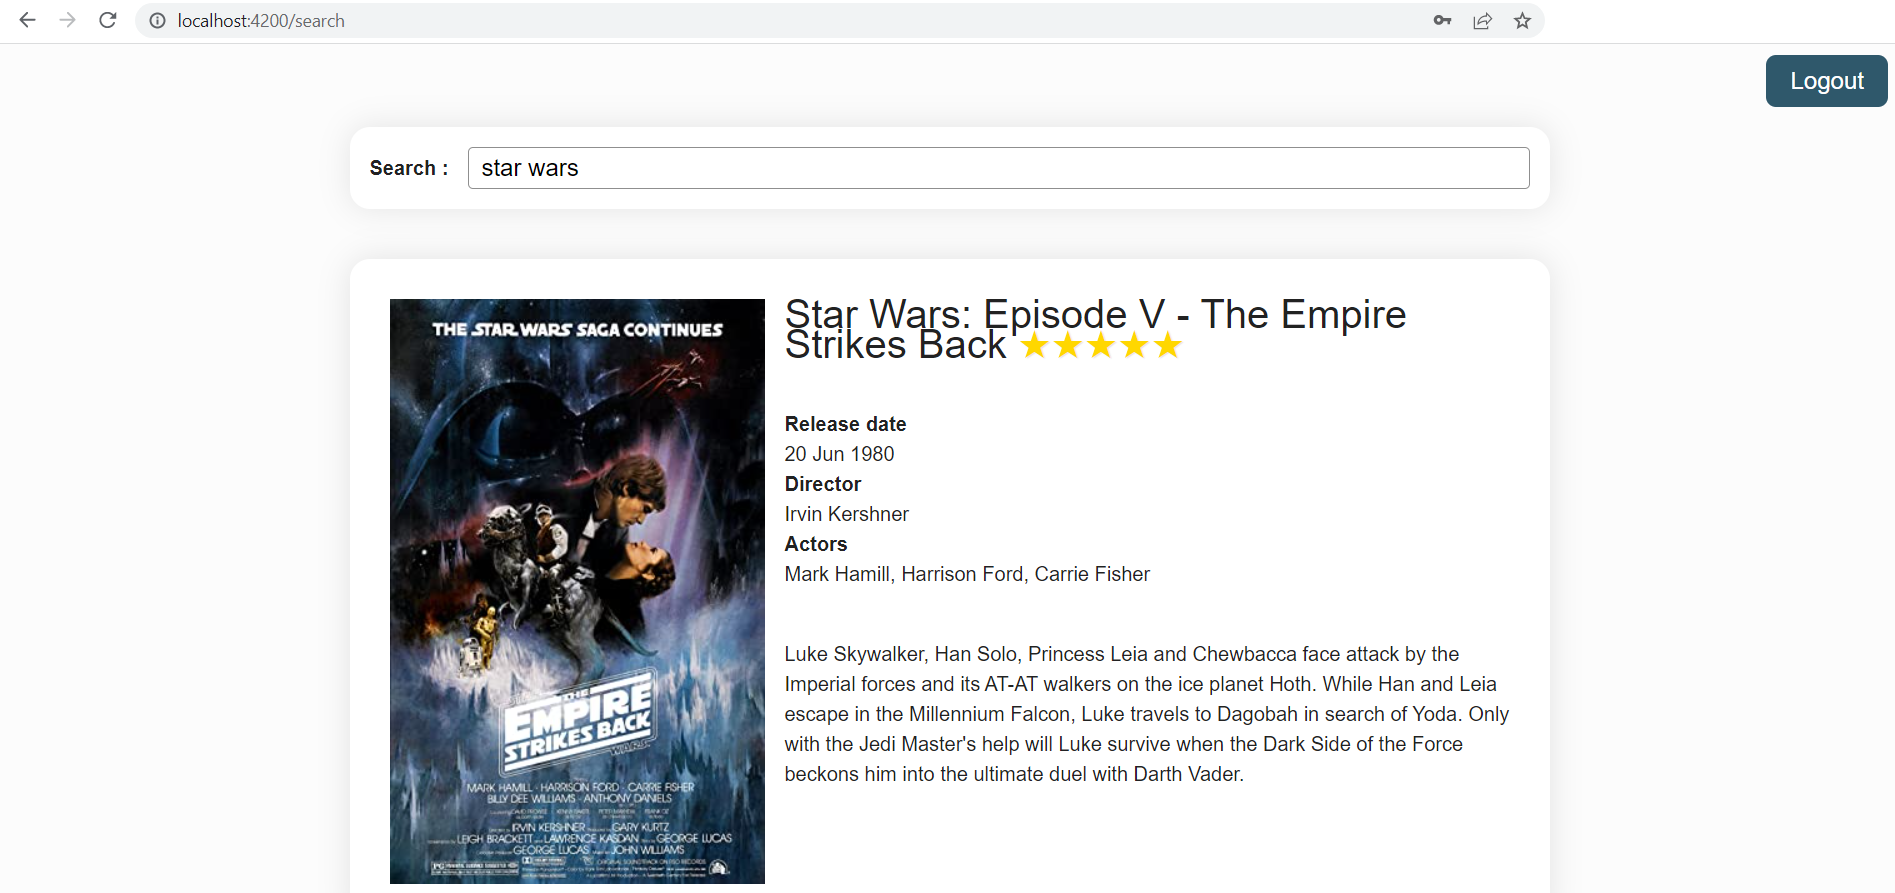
- Create a
FilmServiceusing the CLI and implement the call to theapi/movies/searchendpoint. Note that thetitlequeryParam is not optional. To add query params to a request, use theoptionsparameter of the get method.
const options = {
  params: new HttpParams().set('title', title)
}
Make changes to the
FilmSearchComponentto call this new service with the title filled in by the user, save the response to thefilmssignal field in theFilmSearchComponentclass.Check that the token is sent as a HTTP header via the developer tools of your browser.
Expected result

To go further: HttpResource
The HttpClient makes use of Observables from the rxjs library. Having two reactivity models (Observables and signals) competing in the same framework may seem strange. Observables have been around since the first version of Angular and are mainly encountered whilst making http calls or interacting with reactive forms, they were not necessary everywhere thanks to zone.js. They shine in complex reactive use cases that don't form the bulk of an Angular application code base but that are essential to the proper running of your application. Signals won't take over the role of Observables as they offer a less powerful API, however they will replace Observables in many simpler cases. There's a signal-based wrapper for the HttpClient called HttpResource that was introduced in Angular 19.2 as experimental. You can explore its capabilities here. It is advised to only use it for GET requests.