Routing
Angular applications are mostly Single Page Applications (SPA). The server always serves a single HTML page, and navigation between the application pages/sections is managed on the client side in JavaScript. This approach allows smoother transitions between pages, and reduces the number of server calls needed to navigate between pages, improving the UX. This is essential for Progressive Web Apps or web applications that want to have offline features.
The routing of an SPA is therefore managed on the client side, and the Angular team provides a library for this purpose: @angular/router. This router allows you to associate routes (URLs) with Angular components.
For this chapter, we will use the Personal Library app as a running example. Besides the AppComponent which contains a NavbarComponent, the app has 5 "pages":
- Home
- Book list
- Book detail
- Author list
- Author detail
The targeted routing of the example app is as follows:
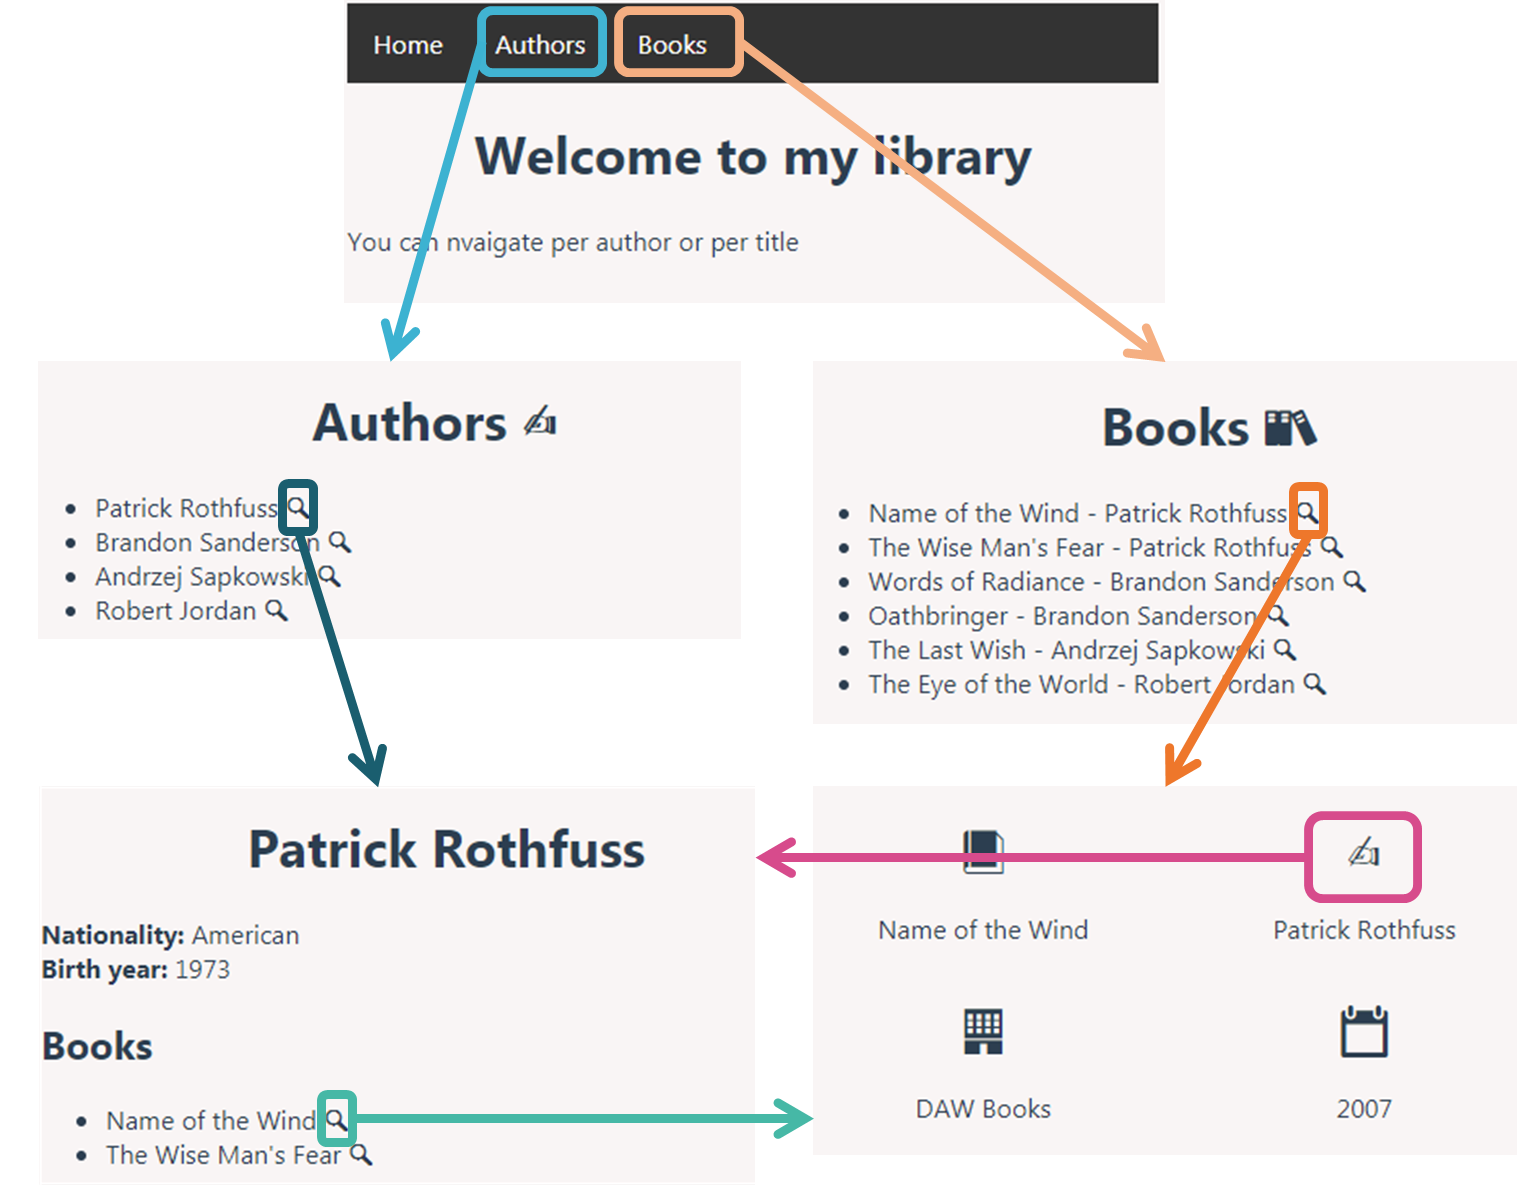
This Stackblitz will serve as the base for the example. Open it as we will implement the navigation together during this chapter.
Routing Module
Before standalone component architecture
In Angular, the best practice is to load and configure the router in a separate, top-level module that is dedicated to routing and imported by the root AppModule. By convention, the module class name is AppRoutingModule and it belongs in the app-routing.module.ts in the src/app folder.
In the exercise and in the practical work, it has already been generated for you, in case it hadn't been, here is how to generate it with the CLI:
ng generate module app-routing --flat --module=app
--flat signals the CLI not to create a folder for the routing module so that it is placed at the same level as the app.module.ts file and --module=app means that the routing module is to be added to the imports of the AppModule.
Once your app grows and you start refactoring it in several modules, it is a good practice to define one routing module per feature module.
The generated AppRoutingModule looks like this:
import { NgModule } from '@angular/core'
import { RouterModule, Routes } from '@angular/router'

const routes: Routes = []

@NgModule({
  imports: [RouterModule.forRoot(routes)],
  exports: [RouterModule]
})
export class AppRoutingModule { }
Angular generates projects with an app.routes.ts file. This is where the application's routes are defined. As the app grows, it is recommanded to split the route definition across several files for clarity.
Here is what the generated app.routes.ts file looks like:
import { Routes } from '@angular/router'

export const routes: Routes = []
The routes array is where we tell the Router which component should be displayed when the user clicks on a link or enters a URL in the address bar. A Route is mainly defined by a path and a component. It can also define a redirect, children routes, a path match strategy, guards, resolvers, lazy-loaded child routes, etc...
Here is an example of an app with a dashboard secured with authentication:
export const routes: Routes = [
  { path: 'registration', component: RegistrationComponent },
  { path: 'forgotten-password', component: ForgottenPasswordComponent },
  { path: 'login', component: LoginComponent },
  { path: 'dashboard', component: DashboardComponent, canActivate: [AuthenticationGuard] },
  { path: '', pathMatch: 'full', redirectTo: '/dashboard' },
  { path: '**', redirectTo: '/dashboard' }
]
canActivateallows you to define route guards. A route guard blocks the activation of the route and can redirect if the condition it defines is not verified.pathMatch: 'full'forces the path to be matched against the entire URL. It is important to do this when redirecting empty-path routes. Otherwise, because an empty path is a prefix of any URL, the router would apply the redirect even when navigating to the redirect destination, creating an endless loop.'**': is a wildcard which means it matches any URL
Exercise: open the Stackblitz and define the following routes in the Routes array:
- home:
/home& empty route - book list:
/books - detail of book with id 1:
/books/1 - author list:
/authors - detail of author with id 1: book list:
/authors/1 - any other route should lead to the home page
Hint
{ path: 'detail/:id', component: TransactionDetailComponent } is a parameterized route where the colon (:) in the path indicates that :id is a placeholder for a specific transaction id.
Correction
import { Routes } from '@angular/router'
import { AuthorDetailsComponent } from './author-details/author-details.component'
import { AuthorListComponent } from './author-list/author-list.component'
import { BookDetailsComponent } from './book-details/book-details.component'
import { BookListComponent } from './book-list/book-list.component'
import { HomeComponent } from './home/home.component'

export const routes: Routes = [
  { path: 'home', component: HomeComponent },
  { path: 'authors', component: AuthorListComponent },
  { path: 'authors/:id', component: AuthorDetailsComponent },
  { path: 'books', component: BookListComponent },
  { path: 'books/:id', component: BookDetailsComponent },
  { path: '', pathMatch: 'full', redirectTo: '/home' }
  { path: '**', redirectTo: '/home' }
]
Using child routes makes the nesting between routes clearer and paves the way for lazy-loading. Here is how it would apply to the Personal Library app:
Correction with child routes
export const routes: Routes = [
  { path: 'home', component: HomeComponent },
  {
    path: 'authors',
    children: [
      { path: '', component: AuthorListComponent, pathMatch: 'full' },
      { path: ':id', component: AuthorDetailsComponent }
    ]
  },
  {
    path: 'books',
    children: [
      { path: '', component: BookListComponent, pathMatch: 'full' },
      { path: ':id', component: BookDetailsComponent }
    ]
  },
  { path: '', redirectTo: '/home', pathMatch: 'full' },
  { path: '**', redirectTo: '/home' }
]
Hosting
When using ng serve, Angular automatically starts a development server that is configured specifically for an SPA specificities. In a production environment, you will need to configure a server such as an Nginx. For the routing to work properly, the server configuration needs to have a rewrite rule so that the index.html file (produced by building the app) is served for all the "routes". Otherwise, the user would hit a 404 error. For Nginx, this is what it could look like:
location / {
  try_files $uri $uri/ /index.html;
}
Router directives
In Stackblitz, try navigating to components by replacing the URL in the address bar. As you can see, besides the NavbarComponent, no other component is displayed even though we have just defined routes in the app.routes.ts. That is because we have not yet told Angular where those components should be inserted in the DOM.
router-outlet
This is the purpose of the RouterOutlet directive. The NavbarComponent should remain displayed at all times which means that components should be inserted under it. Let's add the router-outlet in the AppComponent. Don't forget the import in the ts file.
<app-navbar></app-navbar>
<router-outlet></router-outlet>
import { Component } from '@angular/core'
import { RouterOutlet } from '@angular/router'
import { NavbarComponent } from './navbar/navbar.component'

@Component({
  selector: 'app-root',
  imports: [RouterOutlet, NavbarComponent],
  templateUrl: './app.component.html',
  styleUrl: './app.component.scss'
})
export class AppComponent {

}
Try again to display the various components by changing the URL in the address bar, it should now work. The next step consists in enabling navigation via links directly within the application.
routerLink
First, let's take care of the links in the NavbarComponent. Open the navbar.component.html file and change the code as follows:
<nav>
  <ul>
    <li><a routerLink='/home'>Home</a></li>
    <li><a routerLink='/authors'>Authors</a></li>
    <li><a routerLink='/books'>Books</a></li>
  </ul>
</nav>
import { Component } from '@angular/core'
import { RouterLink } from '@angular/router'

@Component({
  selector: 'app-navbar',
  imports: [RouterLink],
  templateUrl: './navbar.component.html',
  styleUrl: './navbar.component.scss'
})
export class NavbarComponent {

}
You can now navigate via the navbar links. routerLink is the selector for the RouterLink directive that turns user clicks into router navigations. It's another public directive in the RouterModule.
The routerLink directive can be used just like the attribute binding:
- without
[], the right handside is considered a static string literal
<a routerLink='/home'>Home</a>
- with the
[], the right handside is considered a dynamic expression
<a [routerLink]="homeAdress">Home</a>
- the dynamic expression can either be a string or an array of path fragments
<a [routerLink]="['../', 'customer', id]">Customer Detail</a>
DANGER
Usually a link destination is specified via the href attribute. However, this is not the way to go for navigation within an SPA and should only be used for navigation to external URLs. Indeed, navigating via href in an SPA makes the entire app reload which is highly inefficient and offers very poor user experience.
Exercise: Add navigation to book details and author details in their respective list components.
TIP
Don't forget the RouterLink import
Correction
You have two options, either use an absolute path starting with / which means the entire path needs to be supplied (like in book-list.component.html) or use a relative path to the current location (like in author-list.component.html).
<!-- author-list.component.html -->
<h1>Authors ✍️</h1>
<ul>
  @for(author of authors; track author.id) {
    <li>{{author.name}} <a [routerLink]="[author.id]">🔍</a></li>
  }
</ul>

<!-- book-list.component.html -->
<h1>Books 📚</h1>
<ul>
  @for(book of books; track book.id) {
    <li>{{book.title}} - {{book.author}} <a [routerLink]="[book.id]">🔍</a></li>
  }
</ul>
For the moment, only the data of the book with id 1 and the data of the author with id 1 is shown. Later in this chapter we will see how to extract the id present in the URL to select the proper data to display.
Exercise: Add navigation in the BookDetailComponent to the AuthorDetailComponent and vice versa.
Correction
<!-- author-details.component.html -->
<h2>Books</h2>
<ul>
  @for (book of books; track book.id) {
    <li>{{book.title}} <a [routerLink]="['/books', book.id]">🔍</a></li>
  }
</ul>

<!-- book-details.component.html -->
<div class="info">
  <div><a [routerLink]="['/authors', details?.author?.id]">✍️</a></div>
  <p> {{details?.author?.name}}</p>
</div>
The RouterLink directive has a queryParams Input. This Input allows to pass optionnal parameters via query strings in the URL:
<a routerLink="'/books" [queryParams]="{genre: 'Epic Fantasy'}">
  Epic Fantasy Books
</a>
The example generates the link: /books?genre=Epic%20Fantasy
routerLinkActive
Navigating by clicking on the links in the NavbarComponent is now functional; however, there's no feedback to the user regarding which link is active. This is the purpose of the routerLinkActive directive. It allows you to specify one or more CSS classes to add to the element when the linked route is active.
<nav>
  <ul>
    <li><a routerLinkActive='active' routerLink='/home'>Home</a></li>
    <li><a routerLinkActive='active' routerLink='/authors'>Authors</a></li>
    <li><a routerLinkActive='active' routerLink='/books'>Books</a></li>
  </ul>
</nav>
li a:hover:not(.active) {
  background-color: #111;
}

.active {
  background-color: cadetblue;
}

.active:hover {
  background-color: #256264;
}
import { Component } from '@angular/core'
import { RouterLink, RouterLinkActive } from '@angular/router'

@Component({
  selector: 'app-navbar',
  imports: [RouterLink, RouterLinkActive],
  templateUrl: './navbar.component.html',
  styleUrl: './navbar.component.scss'
})
export class NavbarComponent {

}
Router services
So far, we have mainly worked with the Angular Router from the template. The library also provides services to interact with it from a component class.
ActivatedRoute service
The ActivatedRoute service describes the current state of the router. Through it, the component associated with the current route can extract information from the URL via the paramMap and queryParamMap properties.
paramMap and queryParamMap are Observables, a notion we will see more in detail in a later chapter. Observable allows to observe how information change over time. The ActivatedRoute service also provides a snapshot property to only get the state of the router at a given point in time. This property is enough to cover most cases.
To extract a parameter from a route, two steps are required:
- Inject the
ActivatedRouteservice in the component needing it - Retrieve the paramMap from the snapshot in the
OnInitlifecycle hook
import { Component, OnInit, inject } from '@angular/core'
import { ActivatedRoute } from '@angular/router'

@Component({
  selector: 'app-example',
  templateUrl: './exemple.component.html'
})
export class ExampleComponent implements OnInit {
  private route = inject(ActivatedRoute)

  ngOnInit(): void {
    const id: string = this.route.snapshot.paramMap.get('id')
  }
}
Let's go back to the Personal Library app. With the help of the ActivatedRoute, show the details of the proper author and book according to the route.
Correction
// book-details.component.ts
export class BookDetailsComponent implements OnInit {
  private route = inject(ActivatedRoute)

  details: BookDetail | null

  ngOnInit(): void {
    const id = this.route.snapshot.paramMap.get('id')
    this.details = bookDetails.get(Number(id))
  }
}

// author-details.component.ts
export class AuthorDetailsComponent implements OnInit {
  private route = inject(ActivatedRoute)

  details: AuthorDetail | null

  ngOnInit(): void {
    const id = this.route.snapshot.paramMap.get('id')
    this.details = authorDetails.get(Number(id))
  }
}
When to use snapshot
The paramMap and queryParamMap properties are Observables because of optimisations. Indeed, when navigating to the same route but with different paramaters (e.g. /books/123 => /books/456), Angular doesn't reload the component but propagates the new parameters via these Observables.
What does it mean ? If you only allow the navigation to the same route via the address bar, you are covered when using the snapshot. However, if you provide a means to navigate to the same route via a link (such as a "Next" and "Previous" mechanism), you have to listen to the paramMap/queryParamMap changes.
Router service
Sometimes, it is necessary to trigger some actions before routing. This is what happens when we click on a login button. First, an http call is made and depending on the response, routing takes place. The Router service allows to trigger navigation from the component class.
Inject the
Routerservice via the inject methodUse the
navigateByUrlmethod to trigger the navigation.navigateByUrlalways takes an absolute path. In case you would like to user a relative path, use thenavigatemethod instead.
@Component({
  selector: 'app-example',
  templateUrl: './example.component.html'
})
export class ExampleComponent {
  private router = inject(Router)

  navigatePostLogin(): void {
    this.router.navigateByUrl('/dashboard')
  }
}
A full correction of the Personal Library app is available in this stackblitz.
Practical Work: Router-based navigation
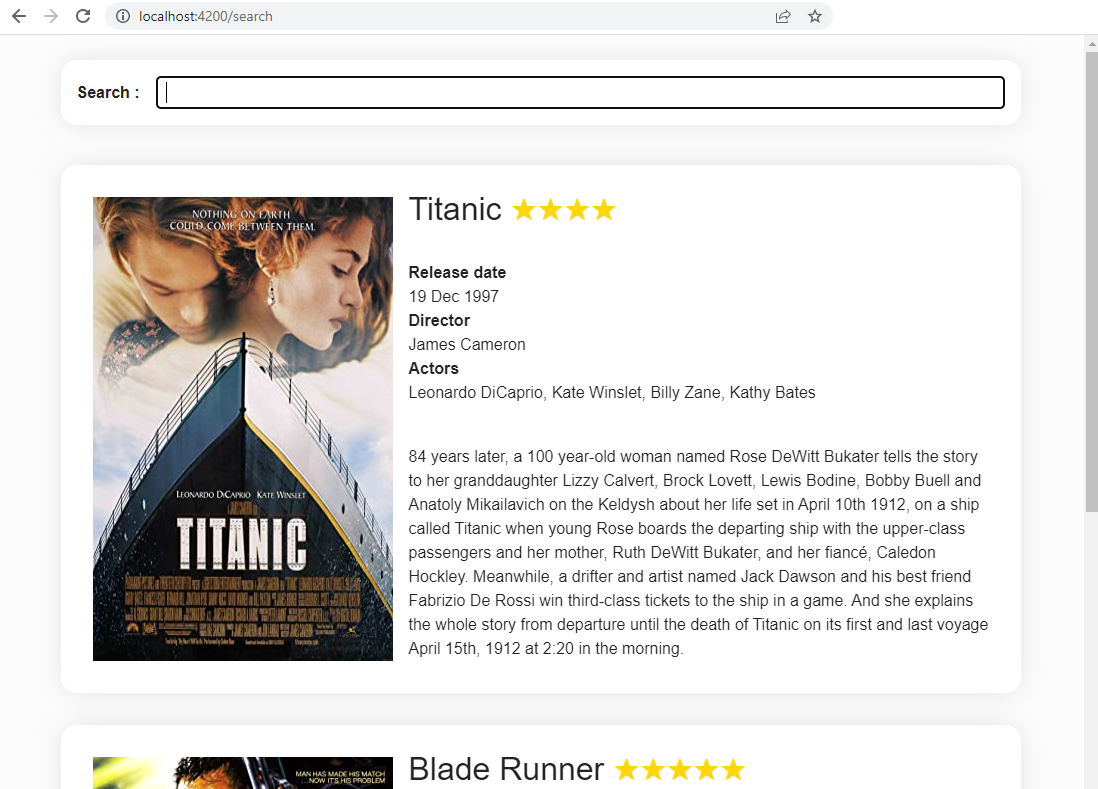
Let's implement the Search Film application routing.
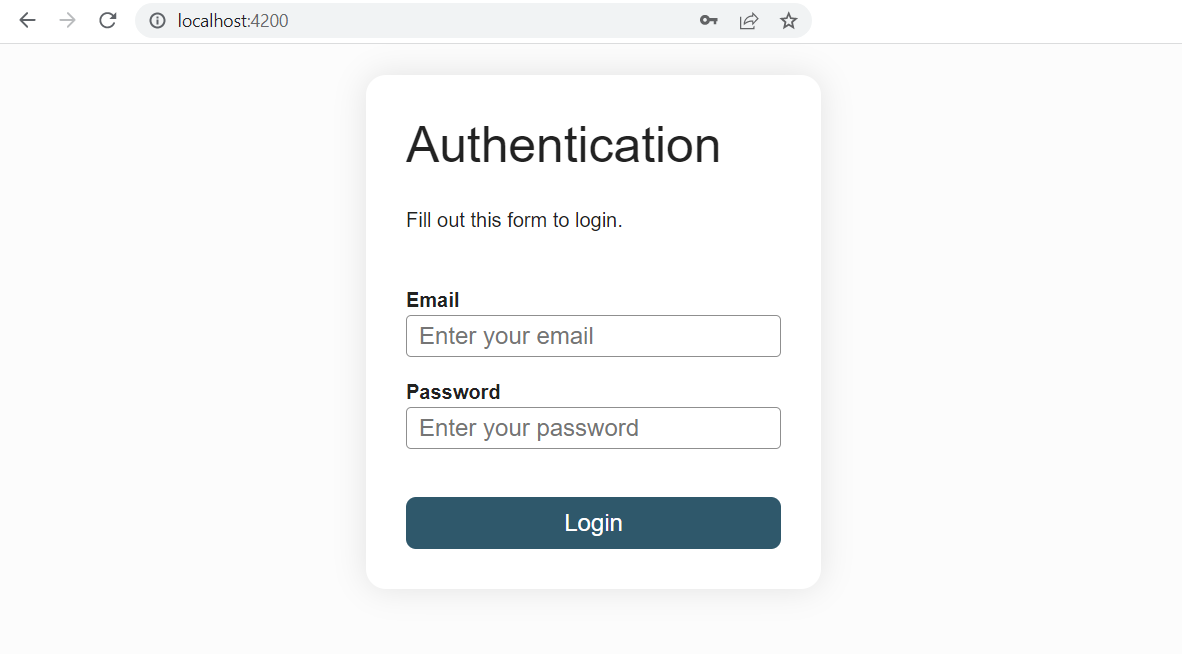
Add a
loginroute linked to theLoginFormComponentand asearchroute linked toFilmSearchComponentin theapp.routes.tsfile.Add a
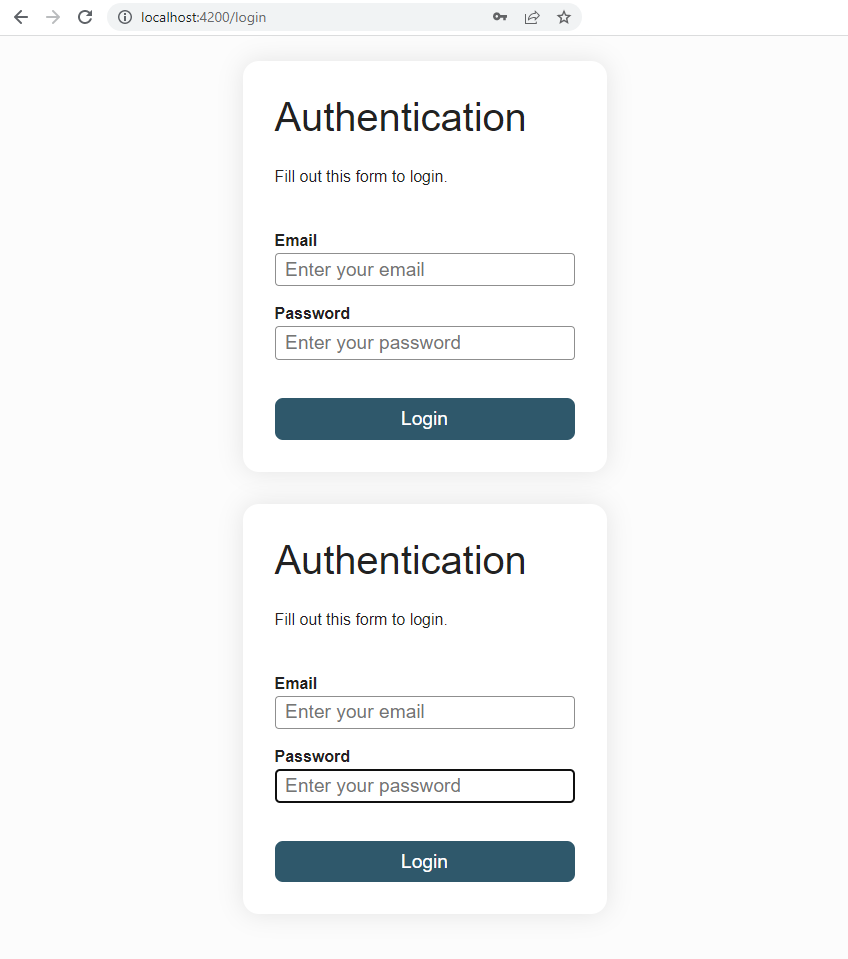
<router-outlet></router-outlet>at the top of theAppComponenttemplate. You should now see the LoginComponent twice when navigating tohttp://localhost:4200/login. Don't forget the import.
Expected result
- Replace the switch between the
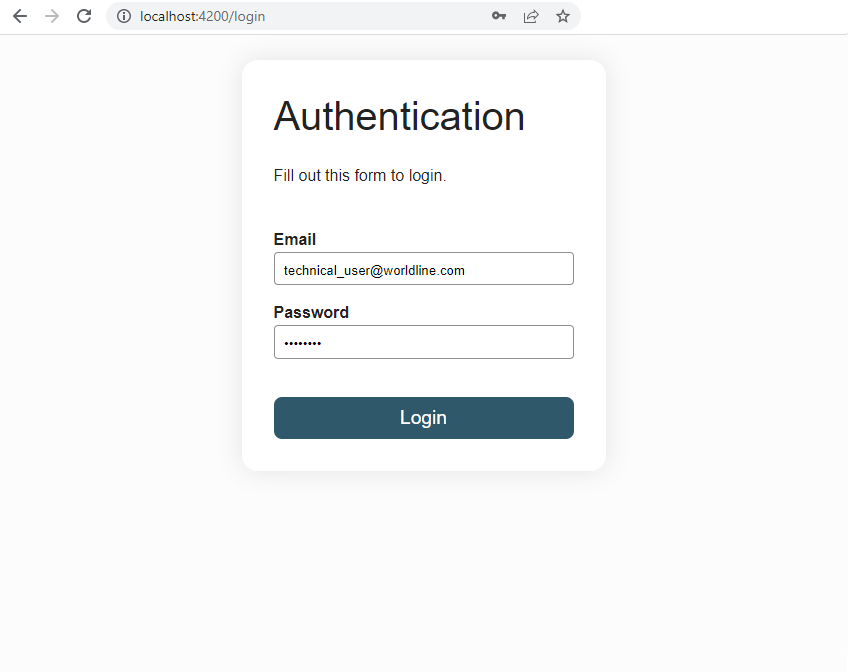
LoginFormComponentandFilmSearchComponentcurrently based on an@ifby a navigation from one route to another. You will have to inject the Router service in the LoginFormComponent.
Tip
Only one line should remain in your app.component.html file: <router-outler></router-outlet>
Expected result

Question: Can you spot an issue with the way our current implementation works regarding security concerns?
- Add a redirect on the empty route
''to theFilmSearchComponent
Question: What do you think is the purpose of such a redirect?
- Bonus: Create a
NotFoundComponent(404) with the CLI and add a wildcard route'**'that redirects to it. The code bellow is a proposition of the content of the 404 component. Add arouterLinkon the<a>tag to go back to the search component.
<h1>404</h1>
<p>Seems you are lost</p>
<p>Get back in<a> known territory</a></p>
:host {
  text-align: center;
}
- Bonus: Learn about navigation guards to secure routes. We will implement one in the next chapter.